Monday, July 19, 2010

The Battle of Banana Breads: Alton Brown vs. Mika - the ultimate smackdown!!

Recently, my in-laws were visiting from overseas - and one of the things they love (apparently) is fruit.  They bought tons and tons of fruit - papayas, apples, bananas... and after dropping them off at LAX for their return flight, we came home to the fragrance of brown spotted bananas, and a pile of apples so big I didn't know what to do.  So I stuck the apples in the refrigerator, and decided the only thing to do with these bananas is make banana bread.

Most people know that I am a huge Alton Brown (or "AB" as us Alton Brown fans like to call him) fan.  I have never found an Alton Brown recipe that I didn't love... so I thought it would be appropriate to try his recipe out and see how it compares with my own.  AB's recipe calls for some ingredients that you may or may not have lying around in your kitchen: almond extract, and oat flour.  Almond extract is easy enough to find - it's usually right next to the vanilla extract in the baking aisle of your supermarket.  Oat flour can usually be found in a "Whole Foods" type of market - I conveniently already had the Bob's Red Mill brand of Oat Flour in my pantry.

My recipe, on the other hand, calls for more common ingredients.  This time, since I just purchased a bottle of walnut oil that I was dying to use... I tweaked my recipe slightly with the addition of walnut oil.  Now you can just use regular oil if you like.  But personally, I think that the walnut oil added a wonderful new dimension to my recipe.

I made both versions of Banana Bread as mini-loaves.  When I tasted them, I thought that AB's recipe won, hands down.  I LOVED his recipe.  It was so good, and the almond extract was such an unexpected twist that really enhanced the banana flavor.  However, I swear I did not tell anyone which loaf was mine and which loaf was AB's.  For some reason, everyone who tried both breads preferred my recipe over ABs!!!  Really?  Really?????  Seriously??*?!!@!!??*?  Not a single person preferred his recipe over mine.  (Maybe I didn't ask enough people?)

Anyway, why don't you try them for yourself, and decide for yourself which one you like better.  The two recipes are very similar, mainly the type of fat used is different.  AB calls for the use of butter, and I used oil.  I think that sometimes oil can give a more tender texture to the final result - but it's also hard to compete with the wonderful flavor of butter.

I have posted both recipes here - mine is posted second under AB's recipe:

AB's Banana Bread (Butter):
350 grams mashed banana (about 1 2/3 c.)
1 c. sugar
1/2 c. unsalted butter (1 stick), melted
2 eggs
1 tsp. almond extract
1 2/3 c. flour
1/3 c. oat flour
1 tsp. baking soda
1 tsp. salt
1 c. walnuts, chopped

1.  Preheat oven to 350 degrees, then grease and flour 3 small loaf pans (or one large one).  Weigh about 350 grams (or 12 oz) of banana on a kitchen scale.  (If you don't have a kitchen scale, this amount is approximately 1 2/3 c. of mashed banana).  Using a potato masher, or a fork, mash the banana.


2.  Melt the stick of butter in the microwave.  Mix the mashed banana with the sugar, and beat in the eggs, almond extract, and melted butter.


3.  Sift the flour, oat flour, baking soda, and salt in a large bowl.  (If you don't have oat flour, you can just use regular flour, or whole wheat flour).
4.  Chop the walnuts.  Reserve 1/4 c. chopped walnuts for sprinkling on the top of the bread, the remaining 3/4 c. will be added directly to the batter eventually (not yet!).
 5.  Pour the wet ingredients on top of the dry ingredients, and gently mix for about 10 seconds until the batter is just combined.  Then add the 3/4 c. of walnuts, and mix in very gently.  (Do not over-mix, or you will ruin the texture of the banana bread - it will be tough and hard instead of light and fluffy).


6.  Divide the batter between the 3 prepared mini-loaf pans, or pour the entire batter into one regular loaf pan.  Sprinkle the tops with the reserved 1/4 c. of walnuts, and large crystal decorating sugar.
 7.  Bake for 50 minutes to 1 hour (for a large loaf pan), or bake at 30 minutes for 3 small loaf pans.  When done, cool for 5 minutes before removing from the pan to a metal rack.

Mika's Banana Bread (Oil):
2.75 grams mashed banana (about 1 1/3 c.)
1 c. sugar
1/2 c. oil (I used 1/4 c. canola oil, and 1/4 c. walnut oil)
2 eggs
1 tsp. vanilla
3 T. milk
2 c. flour
1 tsp. baking soda
1/2 tsp. baking powder
1 tsp. salt
1/2 c. walnuts, chopped

1.  Preheat oven to 350 degrees, and grease and flour 1 large loaf pan, or 3 small loaf pans.  Weigh out and mash your bananas.  You will end up with about 1 1/3 c. of mashed banana.

2.  To make this oil based banana bread, I thought that the use of walnut oil might impart a depth of flavor to the final product - so instead of 1/2 c. of plain canola oil, I used instead 1/4 c. of walnut oil mixed with 1/4 c. of canola oil.  You can find walnut oil at most specialty food stores and in gourmet markets.  This 1 Liter bottle was about $10.  Of course, you can just use regular oil if you don't think you will be using much walnut oil in your kitchen - it does tend to go rancid quickly, so I wouldn't bother buying a huge bottle unless you think you can use it all before the expiration date.
3.  Mix the oil, sugar, and mashed banana.

4.  Add the eggs, vanilla, and milk, and mix until uniformly combined.
5.  Sift the flour, baking soda, baking powder, and salt in a large bowl.
6.  Pour the wet ingredients into the dry ingredients, and mix very gently until the flour is almost thoroughly mixed in.  (Do not over-mix). 
7.  When the flour is almost mixed in, add the nuts, and continue gently mixing until just combined.
8.  Pour the batter into the prepared loaf pan, or 3 small mini-loaf pans, and sprinkle with large crystal decorating sugar.  (You can use regular granulated sugar or brown sugar instead if you don't have any decorating sugar.)
9.  Bake for 1 hour (for a regular loaf pan) or 30 minutes for 3 small loaf pans.


So which do you think is better?  AB's butter-based banana bread:


Or my oil-based banana bread:

Tuesday, July 13, 2010

Fresh Blueberry Muffins

Last week, I posted my Rustic Blueberry Tart recipe... which was inspired by rock bottom blueberry prices at the local market.

If you find yourself with a surplus of blueberries, you might also try these blueberry muffins.  There are perfect for breakfast, warm - right out of the oven.  Use a silicone muffin pan if you have one, and these muffins will pop right out of the pan.


Fresh Blueberry Muffins:
2 3/4 c. flour
1 tsp. baking soda
2 tsp. baking powder
1/2 tsp nutmeg
1 tsp. salt
1 c. sugar
1/2 c. canola oil
1 egg
1 c. plain yogurt
1 tsp. vanilla extract
zest of 1 lemon
12 oz. blueberries (2 packages)
sugar for decorating

1.  Preheat oven to 375 degrees.
2.  Sift flour, baking soda, baking powder, nutmeg, and salt.
3.  Combine the sugar, oil, vanilla, lemon zest, egg, and yogurt.  Mix together until uniform.
4.  Poor the wet ingredients into the dry ingredients.  Mix very gently, until just combined.  (Do not over-mix)
5.  Stir in the blueberries.
6.  Grease a 12 cup muffin pan.  Divide the batter among the 12 cups.  Sprinkle the tops of each with decorating sugar.
 7.  Bake for 20 minutes.  Remove promptly, and allow to cool for a few minutes before serving.

Thursday, July 8, 2010

Rustic Blueberry Tart

Last week, I was tempted by a sign at the local market advertising blueberries for $1/box.  After purchasing a few, I thought, this might be a good time to make blueberry recipes.  Next time, I'll post the fabulous blueberry muffins that I made for breakfast a few days ago.

Here's a fairly easy tart recipe... no need to make a perfect fluted pastry edge... just roll out the dough and fold up the sides for the rustic look.  If any of the edges break or crumble... no big deal, just press it back down.  This tart gets its charm from the imperfections!

Crust:
1 c. (2 sticks) unsalted butter
1 1/2 c. flour
1/2 c. cornmeal
1 tsp. salt
6 T. sugar
1/4 c. cold water
(1 beaten egg)
Blueberry Filling:
1 jar blueberry jam (1 c.)
2 boxes (5 oz. each) blueberry, approx 2 c.
1 T. cornstarch
2 T. sugar

1.  Combine the butter, flour, cornmeal, salt, and sugar the work bowl of a food processor.  Pulse until combined, and mixture is the texture of coarse crumbs.  Add the water, and pulse until the dough comes together.  Shape the dough into a disk, place in a ziploc bag, and refrigerate for 30 minutes.
2.  Preheat the oven to 400 degrees.  Place the dough disk on top of waxed paper.  Roll out into a large circle, 1/4 inch thick.
3.  Place a large sheet pan onto of the dough, and invert so that the dough is now on the sheet pan.  Peel the waxed paper off the top.
4.  Spread the blueberry jam across the center of the crust, leaving a 2 inch border.  (I used homemade blueberry jam, but you could use whatever favorite brand of jam you choose.)


5.  Mix the blueberries in a bowl with the cornstarch and sugar.
6.  Spread the blueberry mixture over the blueberry jam.
7.  Fold the edges of the crust up and over the filling.  Any extra crust can be crumbled on top of the blueberries.
8.  Brush the beaten egg over the crust.
9.  Sprinkle some extra sugar over the crust and blueberries.
10.  Bake for 30 minutes at 400 degrees until the crust is golden brown, and the blueberry filling is bubbly.


Serve with a big scoop of vanilla ice cream.

Monday, June 28, 2010

Rosemary Sand Dollar Cookies

Last year, I bought several herb plants (rosemary, mint, sage, thyme, tarragon, cilantro, and basil), and grew a little herb garden on the patio.  Several of the plants have now gotten a little too big for their planters, and a little re-potting and selective pruning was necessary.  After all the dirty work was done, I ended up with a few woody branches of fresh rosemary.  Time to make cookies, I guess!

I know it sounds kind of strange to add a savory herb like rosemary to something sweet like a cookie, but this cookie is really good! There is a subtle salty-sweet quality to the buttery shortbread-like cookie with a delicate rosemary flavor - and it pairs perfectly with a nice cup of tea, hot or cold.  And it smells so good baking...

I love the fragrance of fresh rosemary.  Translated literally, rosemary means "dew of the sea".  And that's exactly what the scent of rosemary makes me think of... ocean breezes along the Mediterranean coast.  I formed the cookie into little sand dollars (a little nod to rosemary's beachy name) - but you could easily just slice and bake them without any additions or decorations and they would turn out just as good.


Rosemary Sand Dollar Cookies:
1 1/2 c. unsalted butter
1 c. sugar
2 T. chopped rosemary
1/2 tsp. lemon extract
1/2 tsp. salt
2 3/4 c. flour
1/4 c. pine nuts
sugar for decorating


1.  Remove the rosemary leaves from the woody stems.  Then, chop the rosemary until fine.
 2.  Cream the butter and sugar until light and fluffy.
 3.  Add the chopped rosemary, salt, and lemon extract.  If you don't have any lemon extract, you can use the zest of one lemon instead.
4.  Stir in the flour.
5.  The dough will be very soft and sticky.  Place the dough onto a large rectangle of waxed paper and shape into a long log, about 3 inches in diameter.
 6.  Refrigerate the log at least 1 hour until firm.  However, the flavor of this cookie will be much more intense if you leave the log refrigerated for 2 days to let the flavors meld.

7.  Preheat the oven to 350 degrees.  Remove the log from the refrigerator, and slice into 1/4 inch slices.
8.  Place the cookies on an ungreased cookie sheet.  Press 5 pine nuts into the top of each cookie, into a star pattern.  Sprinkle each cookie with large decorating sugar crystals.
9.  Bake for 8 minutes.  The cookies will be soft and fragile when removed from the oven.  Carefully lift each cookie to a paper towel set on the counter top to cool.

Friday, June 25, 2010

Pad Thai at 2am

After grad school, I lived near Hollywood, in the area of Los Angeles know as Los Feliz.  My apartment was about 2 blocks from the William Mulholland fountain, walking distance from the Griffith Observatory and the Los Angeles Zoo, and just about a mile from Thai Town.  I got used to being able to go grocery shopping at 3am, and being able to order really good Thai food (delivery) at 2am.

Now that I live in a town that seems to shut down at 8pm, I remember those late night Thai food cravings... and how easily they were satisfied.   But what do you do when it's 8pm, you don't live near Thai Town... and a craving for Pad Thai strikes?  Lucky for me, Pad Thai is not that hard to make.  Now, this may not be "from scratch Pad Thai" that somebody's Thai grandma makes... but it's good enough to satisfy my cravings.  Most of these ingredients can be found in an Asian supermarket.

Pad Thai:
1/2 pkg rice noodles
8 oz. jar pad thai paste
1/4 c. honey
1/2 c. warm water
1 T. oil
16-18 medium shrimp
3 c. bean sprouts
2 carrots
1/2 can baby corn
5 stalks green onion
8 large shitake mushrooms
1 c. peanuts
3 eggs
1 small bunch cilantro (about 1/4 c.)
salt, pepper to taste

1.  Peel the carrots.  With a grating tool, shred long thin strips of carrot.  If you don't have an asian grating tool, you can grate the carrots instead, using the large holes on a box grater.

2. Wash the mushrooms, then slice thinly.
3. Chop a small bunch of fresh cilantro.  (Don't mind the cilantro flowers.  This bunch came out of my patio potted herb garden, and the cilantro had produced some lovely flowers.)
4.  Chop 1 c. of peanuts.  I used half regular peeled peanuts, and half Okinawa sugared peanuts.

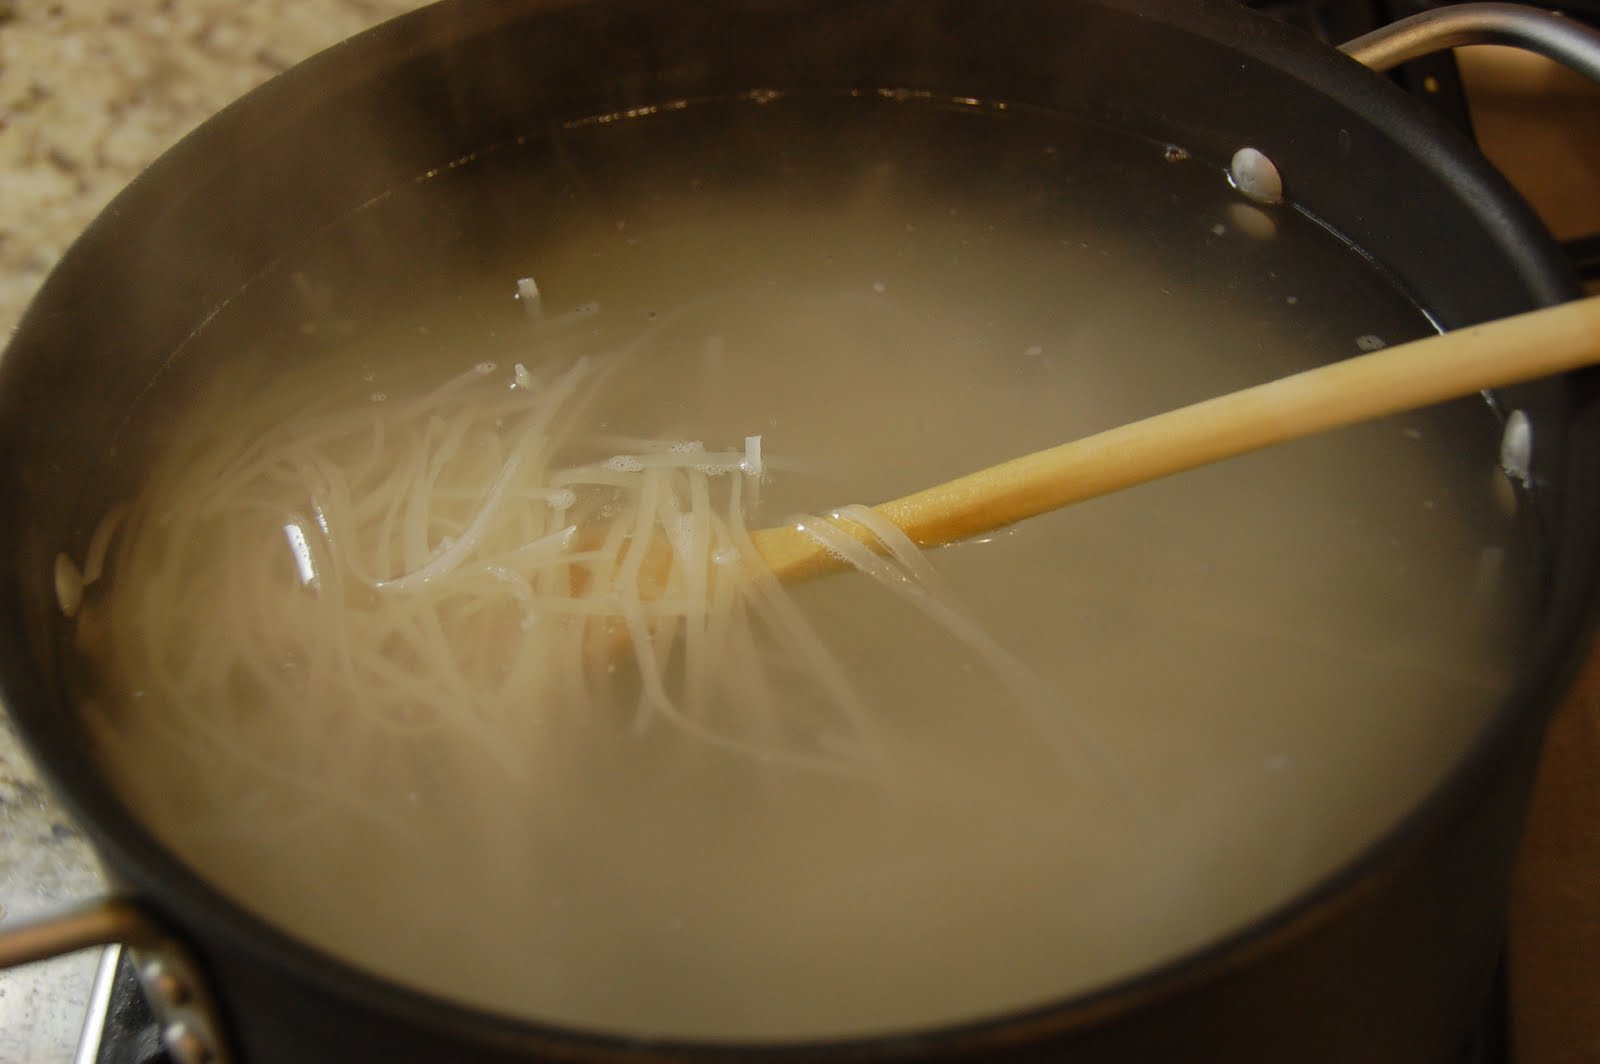
5.  While prepping the vegetables, set a large pot of water to boil.  Add the rice noodles and turn off heat.  Set a timer to 5 minutes, and allow the noodles to soak.  After 5 minutes, drain into a colander, and rinse with cold water to stop the cooking.
6. Chop the green onions, set aside.  Meanwhile slice the baby corn longitudinally into quarters.
 7. Mix the pad thai sauce, honey, and water in a small bowl.

8.  In a large wok, scramble the eggs in a small amount of oil.  Once done, set aside onto a plate.
9.  Add the remaining oil into the wok, and stir fry the shrimp.  Set aside with the eggs.
10. Stir fry the mushrooms and peanuts, add the carrots.  Season lightly with salt and pepper.
11.  Add the bean sprouts and baby corn and stir fry for 1 minute.
12.  Add the noodles, sauce mixture, cooked eggs and shrimp and stir fry 2-4 minutes.  Add the green onions and cilantro, mix, and serve.